
Learn how to install Jenkins on OVHcloud Managed Kubernetes.
In this tutorial, we are going to guide you through the installation of Jenkins on your OVHcloud Managed Kubernetes Service.
We are going to install Jenkins master and slave cluster utilizing the Jenkins Kubernetes plugin.
Before you begin
This tutorial presupposes that you already have a working OVHcloud Managed Kubernetes cluster and some basic knowledge of how to operate it. If you want to know more about those topics, please look at the OVHcloud Managed Kubernetes Service Quickstart.
You also need to have Helm installed on your workstation and your cluster. Please refer to the How to install Helm on OVHcloud Managed Kubernetes Service tutorial.
Pre-requisites
We (the OVHcloud Managed Kubernetes Service team) are working on a patch to be released in early 2022. In the meantime, please remove the default storage class and install the new one.
-
Delete the concerned
StorageClassthat you are using by defaultIt will delete the existing
StorageClass: -
Create a new
StorageClasswith the required fixIt will apply the correct
StorageClassYAML manifest:
Instructions
Installing the Jenkins Helm chart
NOTE: As with Helm 2, the official Helm stable repository is currently deprecated. The Helm community is currently transitioning to a hub model, with a Helm Hub, where charts can be searched using helm search hub <keyword>. As most charts from the Helm stable repository have been transferred to the Bitnami repository, we are using it in the tutorial.
For this tutorial, we are using the Jenkins Helm chart found on Bitnami Helm repositories.
The chart is fully configurable, but here we are using the default configuration.
Customizing your install
Maybe you would like your admin username to be different, or be able to set your admin password, or modify the resources allocated…
To customize your install, without having to leave the simplicity of using Helm and the Jenkins helm chart, you can simply set some of the configurable parameters of the Jenkins chart. Then you can add it to your helm install with the --set option (--set param1=value1,param2=value2)
This will install your Jenkins master:
As the instructions say, you will need to wait a few moments to get the LoadBalancer URL. You can test if the LoadBalancer is ready using:
After some minutes, you will get the LoadBalancer URL:
The URL under EXTERNAL-IP is your Jenkins URL. You can follow the instructions on the Helm Chart to get the connection parameters. In my case:
And putting the URL in your browser will take you to the new Jenkins:
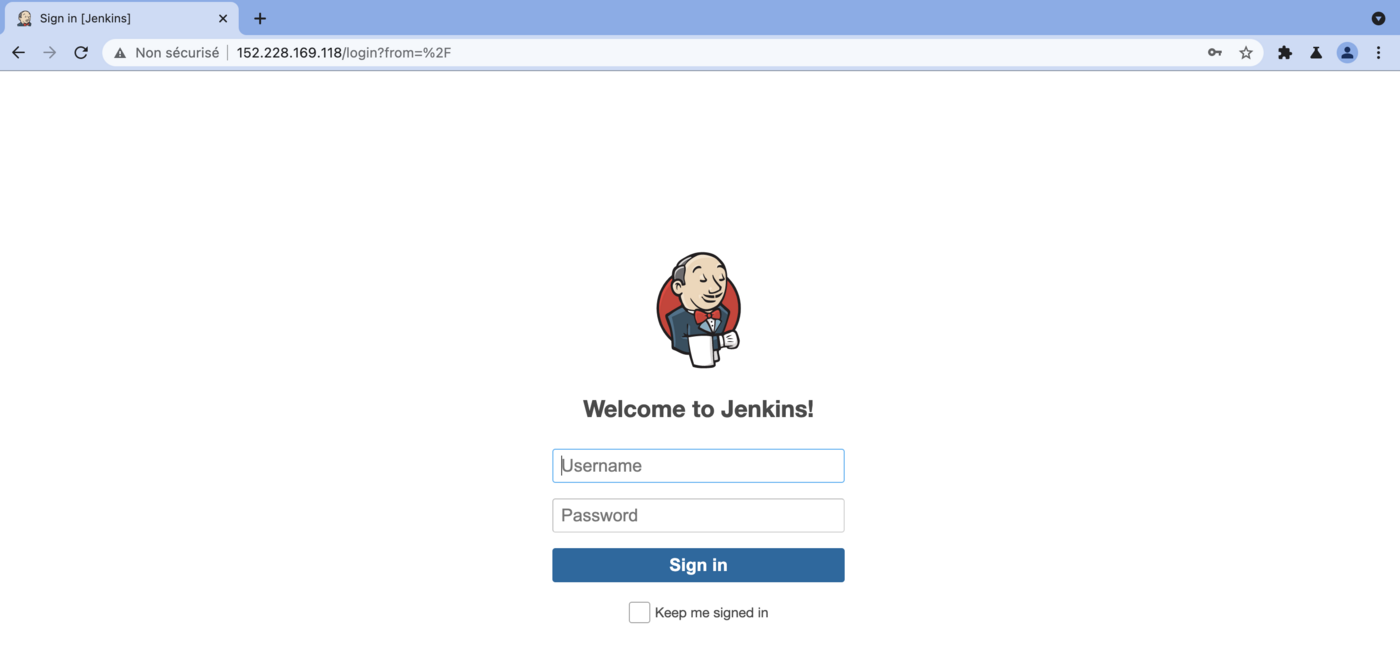
Log in with the user user and the password you got before. And here you have your Jenkins:
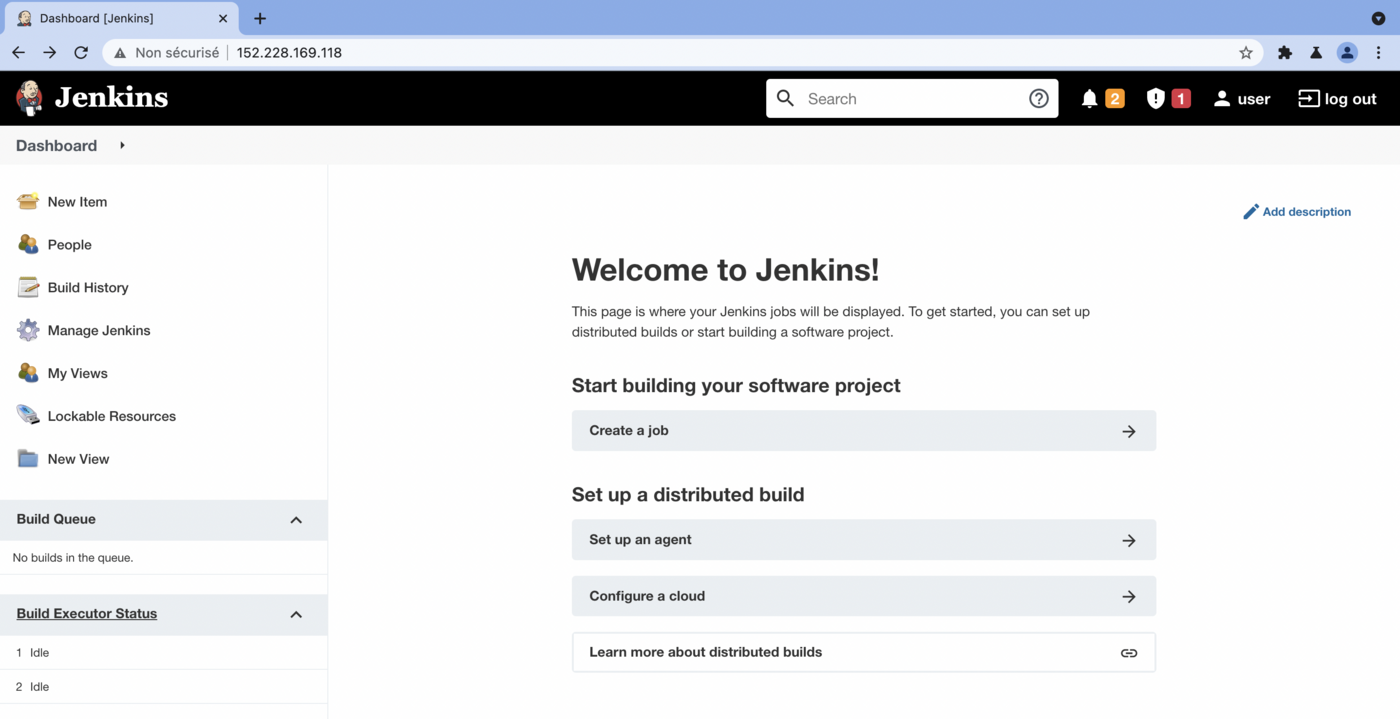
You have a working Jenkins on your OVHcloud Managed Kubernetes Service, congratulations!
Cleaning up
To clean up your cluster, simply use Helm to delete your Jenkins release.
It will delete your Jenkins and its associated resources from your cluster:
Go further
For more information and tutorials, please see our other Managed Kubernetes or Platform as a Service guides. You can also explore the guides for other OVHcloud products and services.
If you need training or technical assistance to implement our solutions, contact your sales representative or click on this link to get a quote and ask our Professional Services experts for a custom analysis of your project.