Objective
With OVHcloud Connect, you can link your company network to your private OVHcloud vRack network, without creating a VPN tunnel through the internet. This will give you a quicker, more stable connection with guaranteed bandwidth.
This guide will show you how to set up the OVHcloud Connect Direct solution via the OVHcloud Control Panel.
Requirements
To ensure correct operation of this service, you must be aware of the technical capabilities and limitations of the OVHcloud Connect solution and configure your network devices accordingly.
- An OVHcloud Connect Direct solution
- An OVHcloud vRack
- Access to the OVHcloud Control Panel
Instructions
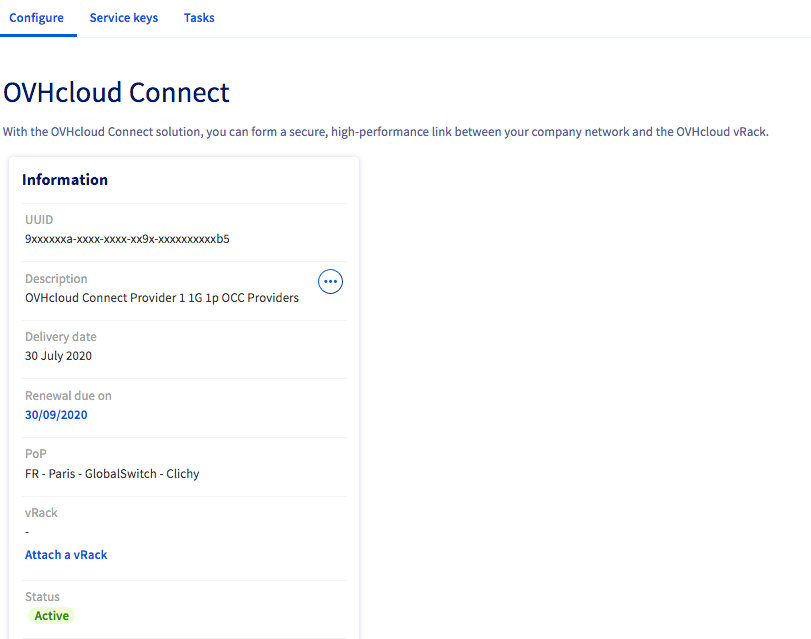
Log in to the OVHcloud Control Panel, go to the Bare Metal Cloud section and click on Network. Next, open OVHcloud Connect and click on your solution.
Step 1: Associating a vRack
You will need to link a vRack to your solution first. Click the Attach a vRack button and select an existing vRack from the drop-down menu.
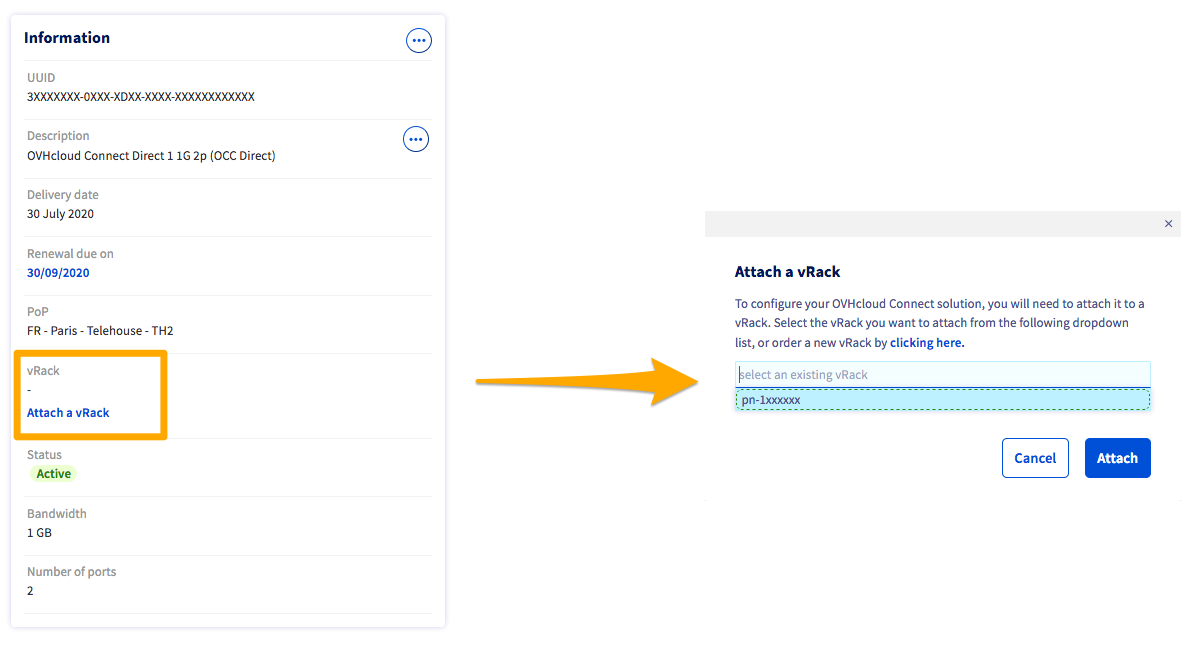
A message will confirm the vRack association.
Step 2: Adding a PoP configuration
Changing the PoP configuration from L2 to L3, or vice versa, would require deleting the entire configuration. We advise you to think carefully about your configuration choice before going any further.
For more details on the differences between levels L2 and L3, see our FAQ.
Configuration
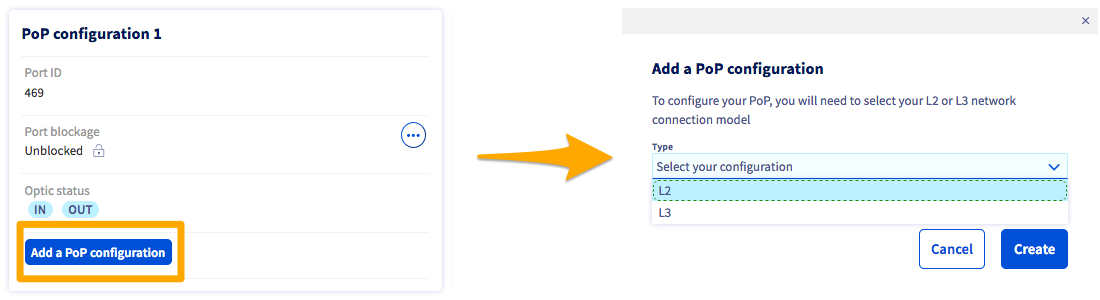
Once you have linked your vRack, two PoP configuration menus will appear. Click the Add a PoP configuration button in the first menu, select L2 from the drop-down menu, then confirm.
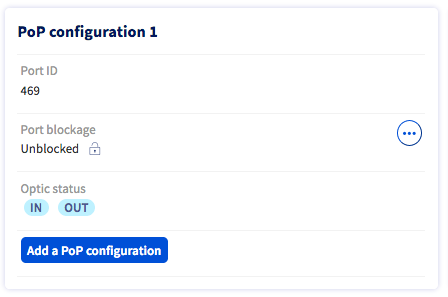
The L2 configuration will then be enabled in the two PoP configuration menus.

Configuration L3
Once you have connected your vRack, click Add a PoP configuration and select the L3 configuration from the drop-down menu.
You will then need to enter the following:

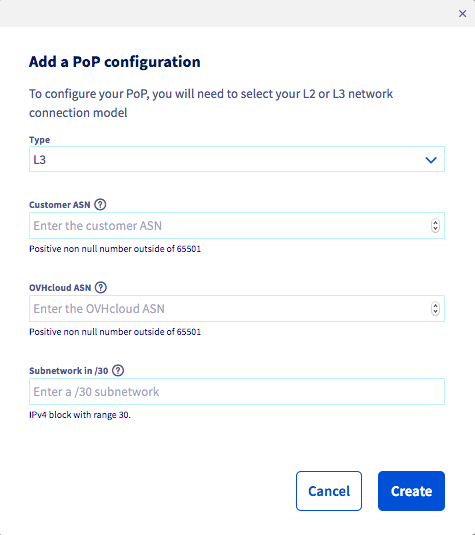
The PoP configuration menu will then appear.

You can also add a second PoP L3 configuration via the second PoP configuration menu.
Step 3: Adding a data center configuration
Configuration
When your PoP configuration is active, click Add a configuration under the DC configuration menu. Select a data center from the drop-down menu and confirm.

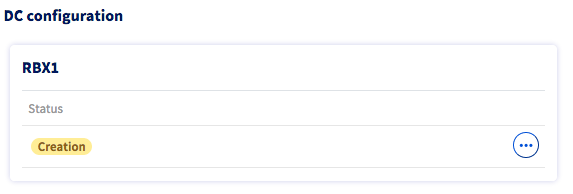
The DC configuration will then begin.
Configuration L3
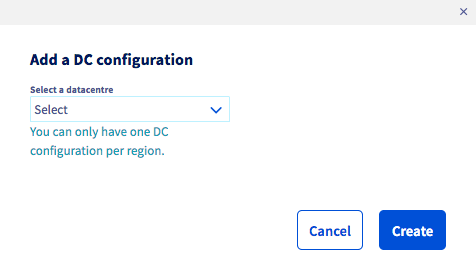
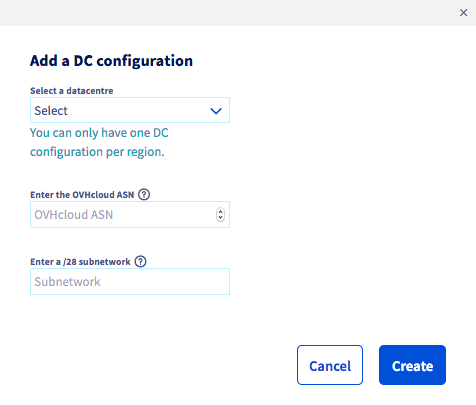
When your PoP configuration has been set, click Add a configuration under the DC configuration menu.

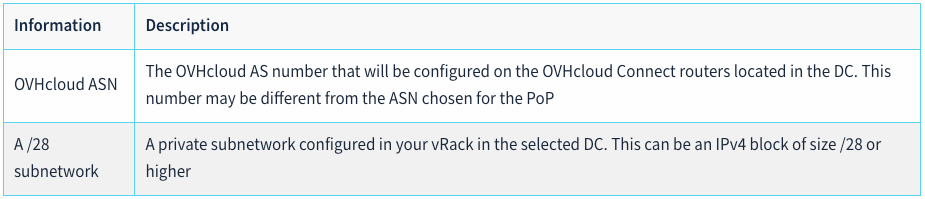
Select a data center from the drop-down menu, then enter the information required.
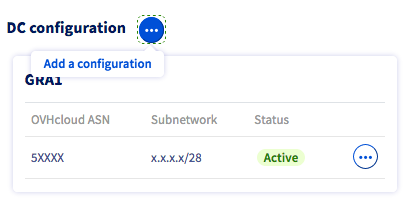
You can add additional data center configurations by clicking on the ... button, then Add a configuration.
You must also add a routing configuration.
Adding a routing configuration
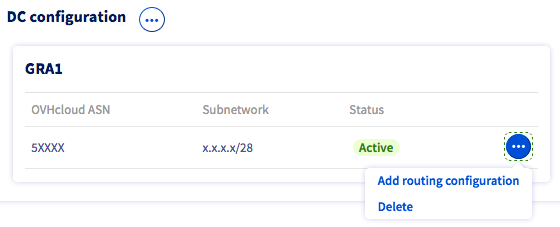
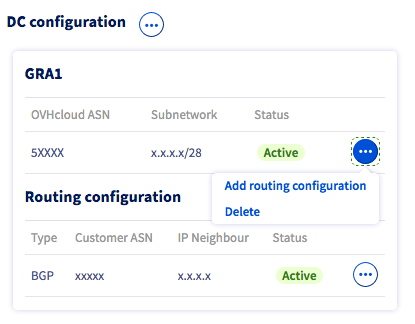
Click on the (...) button on the desired data center then on Add routing configuration .
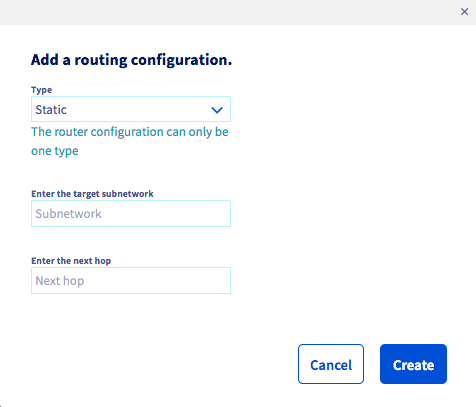
Then choose the routing type between Static and BGP.
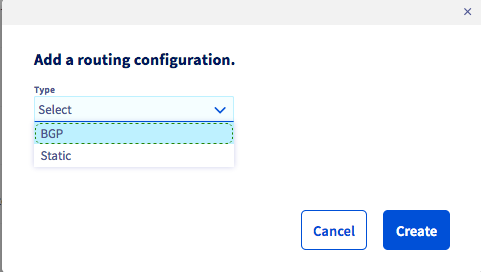
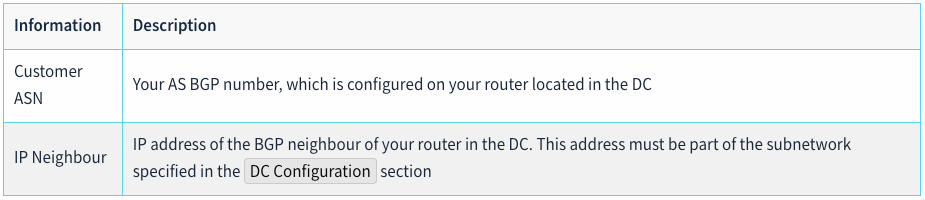
If you choose the type BGP, then enter the required information.

If you choose the Static type, enter the required information:

You can add multiple routing configurations within the same data center. The configuration type (BGP or Static) chosen for your first routing configuration will then apply to the next configuration on the same data center.
Deletion of vCenter resources
Each resource (PoP or DC) can be deleted individually, but deleting a parent resource such as DC or PoP will automatically delete all the subresources.
Recursive removal is slower than sequential removal of each resource.
If a DC configuration is shared between two or more OVHcloud Connect services, removing the PoP configuration from a single OVHcloud Connect service will not affect the DC resource.
Deleting a routing Configuration
To delete a routing configuration, click the ... button on the routing configuration to delete, then click Delete.

Deleting a DC configuration
To delete a DC configuration, click the ... button on the DC configuration to delete, then click Delete.

Deleting a DC configuration will delete the related routing configurations.
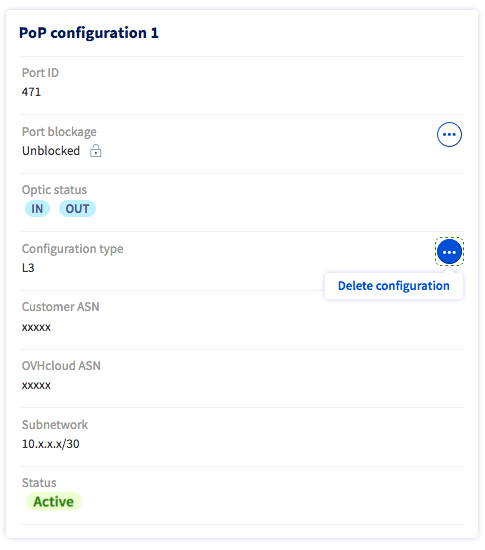
Deleting a PoP configuration
To delete a PoP configuration, click the ... button on the PoP configuration to delete, then click Delete configuration.
Deleting a PoP configuration will delete the related DC and routing configurations.